
Dental CAD/CAM Workflow: From Digital Scan to Finished Restoration
A decade ago, a crown or bridge meant a physical impression, a shipped case, and a wait of a week or more before a patient could return for a final seat. Today, a growing number of practices and labs have moved that entire process onto a screen. A scan replaces the impression tray, software replaces the wax knife, and a milling unit or printer replaces much of the hand carving that used to define lab work.
That shift is what people mean when they talk about a dental CAD/CAM workflow. It is not a single tool, but a full chain of digital steps that takes a patient from an intraoral scan to a finished, seated restoration, often in a fraction of the time traditional methods require.
This guide walks through how that process actually works, how it compares to traditional lab work, and what practices and labs should weigh when deciding which approach fits a given case.
What Is a Dental CAD/CAM Workflow?
CAD/CAM stands for computer aided design and computer aided manufacturing. In dentistry, it refers to the digital pipeline used to design and produce restorations such as crowns, bridges, veneers, inlays, onlays, and increasingly, full arch and implant supported cases.
Instead of a physical impression and a plaster model, a dental CAD/CAM process begins with a digital scan of the patient’s teeth. That scan becomes the foundation for every step that follows, from designing the restoration on screen to manufacturing it with a milling machine or 3D printer.
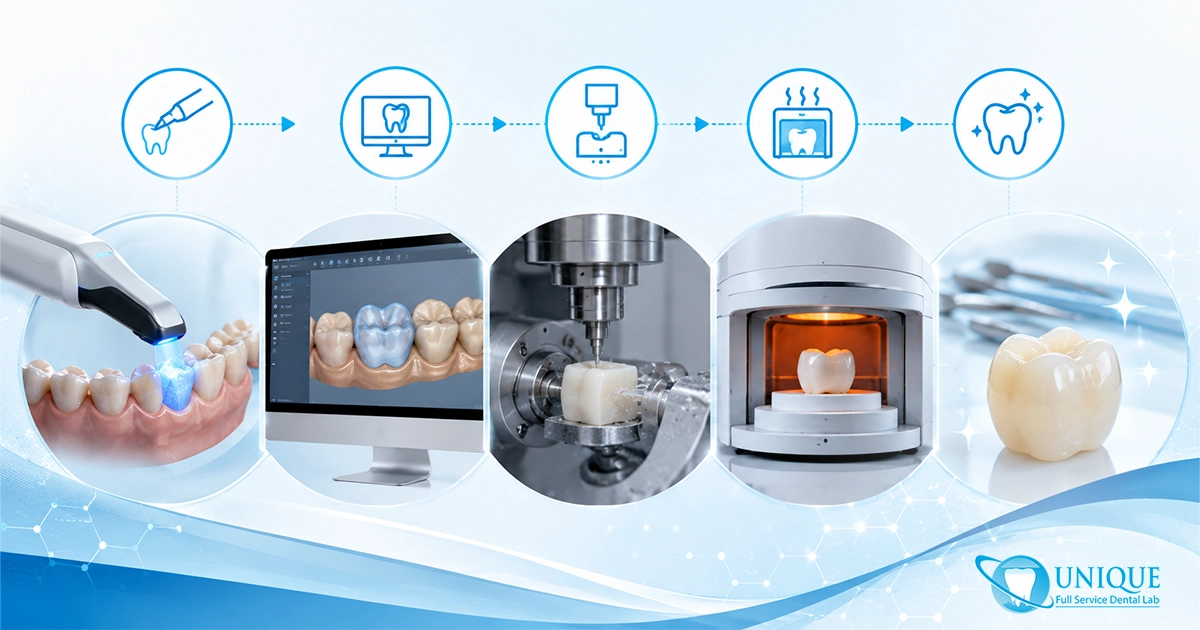
The Dental CAD/CAM Process, Step by Step
Step 1: Digital Intraoral Scanning
An intraoral scanner captures a highly detailed 3D image of the patient’s teeth and surrounding tissue. This replaces the traditional impression material and tray, and it gives the design software an accurate digital model to work from almost immediately.
Step 2: Digital Design (CAD)
Using the scan, a technician or dentist designs the restoration in specialized software. This stage sets the shape, contact points, occlusion, and margins of the crown, bridge, or other restoration, all adjustable on screen before anything is physically produced.
Step 3: Milling or Printing (CAM)
Once the design is finalized, the file is sent to a milling unit or 3D printer. Milling units carve the restoration from a solid block of material such as zirconia or lithium disilicate, while printers build certain restorations layer by layer using resin based materials.
Step 4: Finishing, Staining, and Glazing
After milling or printing, the restoration goes through finishing work. This can include staining for a natural shade match, glazing for surface texture and shine, and polishing to refine the final result before it leaves the lab.
Step 5: Seating the Final Restoration
The finished restoration is delivered to the practice and tried in, checked for fit and occlusion, and cemented or bonded into place. With same day chairside systems, this entire chain, from scan to seat, can sometimes happen in a single appointment.
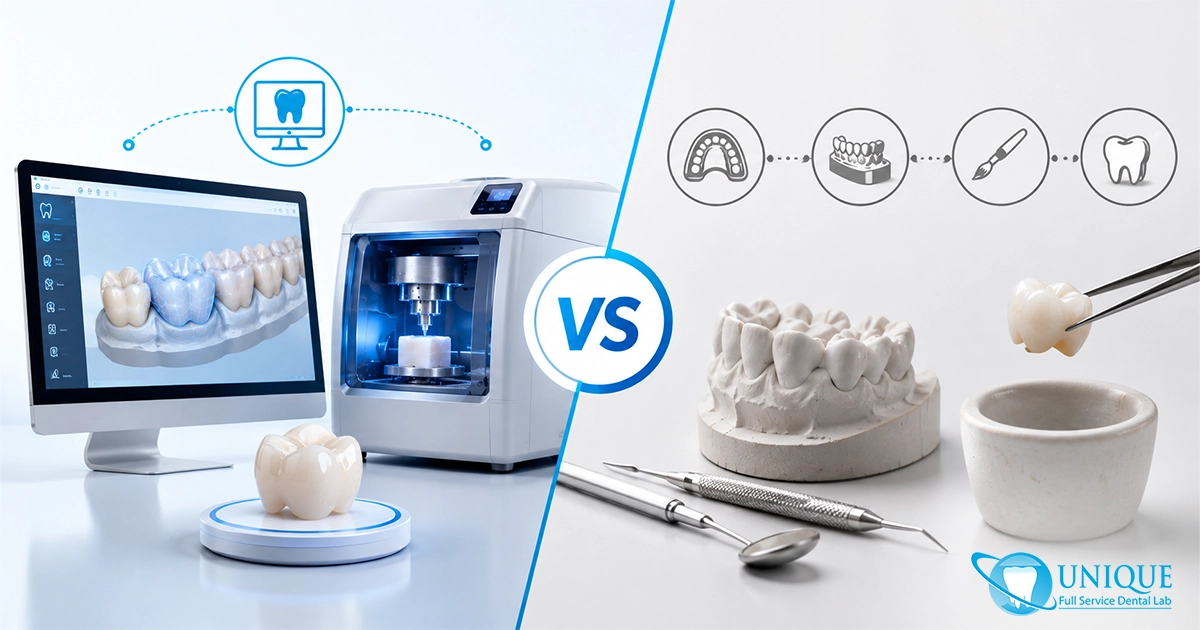
CAD/CAM vs. Traditional Dental Lab Work: Which Is Better for Dental Restorations?
Turnaround Time
Traditional lab work typically involves shipping a physical impression, waiting for a model to be poured, and coordinating production schedules, often adding days to the timeline. A digital dental workflow can compress that into hours in many cases, since files transmit instantly and production can begin right away.
Accuracy and Fit
Digital scans eliminate many of the distortion risks tied to impression materials, such as shrinkage, tearing, or bubbles. That tends to translate into more consistent margins and fewer remakes, though skilled traditional lab technicians can still produce excellent results with careful technique.
Cost Considerations
CAD/CAM equipment requires an upfront investment in scanners, design software, and milling or printing hardware. Traditional lab work has lower entry costs but often carries higher per case shipping and material costs over time. Many practices find that CAD/CAM pays for itself through efficiency once case volume is high enough.
Material Options
Both workflows support a wide range of materials, including zirconia, lithium disilicate, and various metals. CAD/CAM has expanded access to certain high strength, highly esthetic materials that are difficult to produce consistently by hand, while some highly customized or layered esthetic work still leans on traditional ceramist skill.
Patient Experience
Patients generally prefer digital scanning to a traditional impression tray, since it eliminates the gag inducing material and the wait for it to set. Same day CAD/CAM restorations can also mean fewer appointments and less time spent with a temporary crown.
Benefits of a Digital Dental Workflow for Practices and Labs
A well run CAD/CAM dental workflow tends to reduce remakes, since digital files can be adjusted and reviewed before anything is physically produced. It also improves communication between practices and labs, since scans, notes, and design files transfer digitally instead of relying on a physical model that can be lost or damaged in transit. For labs, it opens the door to higher case volume without a proportional increase in manual labor.
Common Challenges When Adopting Dental CAD/CAM
- Upfront equipment costs for scanners, software, and milling or printing hardware can be a barrier for smaller practices or labs.
- Staff need training to use scanning and design software effectively, and there is a learning curve during the transition.
- Not every case type is equally suited to CAD/CAM. Highly complex esthetic cases may still benefit from a skilled ceramist’s hand work.
- Software and hardware compatibility between different scanner brands and lab systems is not always seamless, and file formats sometimes need conversion.
Choosing the Right CAD/CAM Restorations for Your Cases
Not every restoration needs to go through the same workflow. Single unit crowns, inlays, and onlays are often excellent candidates for a fully digital CAD/CAM process, especially with same day chairside systems. Larger cases, complex esthetic anterior work, and full arch implant cases may benefit from a hybrid approach that combines digital design with more traditional finishing techniques. Working closely with your lab to understand which materials and methods fit each case type will generally produce the most predictable results.
FAQs
What is a dental CAD/CAM workflow?
A dental CAD/CAM workflow is the digital process of designing and producing a restoration, starting with an intraoral scan, moving through computer aided design, and finishing with computer aided manufacturing such as milling or 3D printing.
Is CAD/CAM better than traditional dental lab work?
CAD/CAM generally offers faster turnaround, more consistent fit, and fewer remakes compared to traditional lab work, though traditional methods still have a place for certain complex or highly customized cases.
How long does a CAD/CAM restoration take to produce?
Many single unit CAD/CAM restorations can be designed and milled within a few hours, and some same day chairside systems allow a crown to be completed in a single visit.
What materials can be used in a dental CAD/CAM process?
Common CAD/CAM materials include zirconia, lithium disilicate, PMMA, composite resin, and various metals, with the right choice depending on the restoration type and location in the mouth.
Final Thoughts
The dental CAD/CAM workflow has changed what practices and labs can realistically promise patients: faster turnaround, fewer appointments, and a level of consistency that is hard to match with impression material alone. Traditional lab work still has its place, particularly for complex esthetic cases that benefit from a skilled technician’s touch, but for most everyday restorations, a digital dental workflow now sets the standard.
Curious how a digital workflow could fit into your practice or lab’s case mix? Explore CAD/CAM restorations or reach out to the team at Unique Lab to talk through your options.

Leave a Reply